
Desktop · 0:30 video
Record and mark a moment
Watch the incoming waveform and mark useful moments while the take continues.
Before you start: A working microphone or supported audio input.
Download videoDownload captions
Step by step
Choose the input
Open Record audio, select your input, and check its meter. Choose Rec for that input.
Mark useful moments
Use Mark while recording to keep a timemark at that point. Recording continues while you add marks.
Watch the live take
Close the input panel to see the live waveform. Check the incoming signal and recording duration as the take grows.
Finish the recording
Choose Stop All. Clip Dr. saves the take and opens it for waveform edits, clips, or optional transcription.
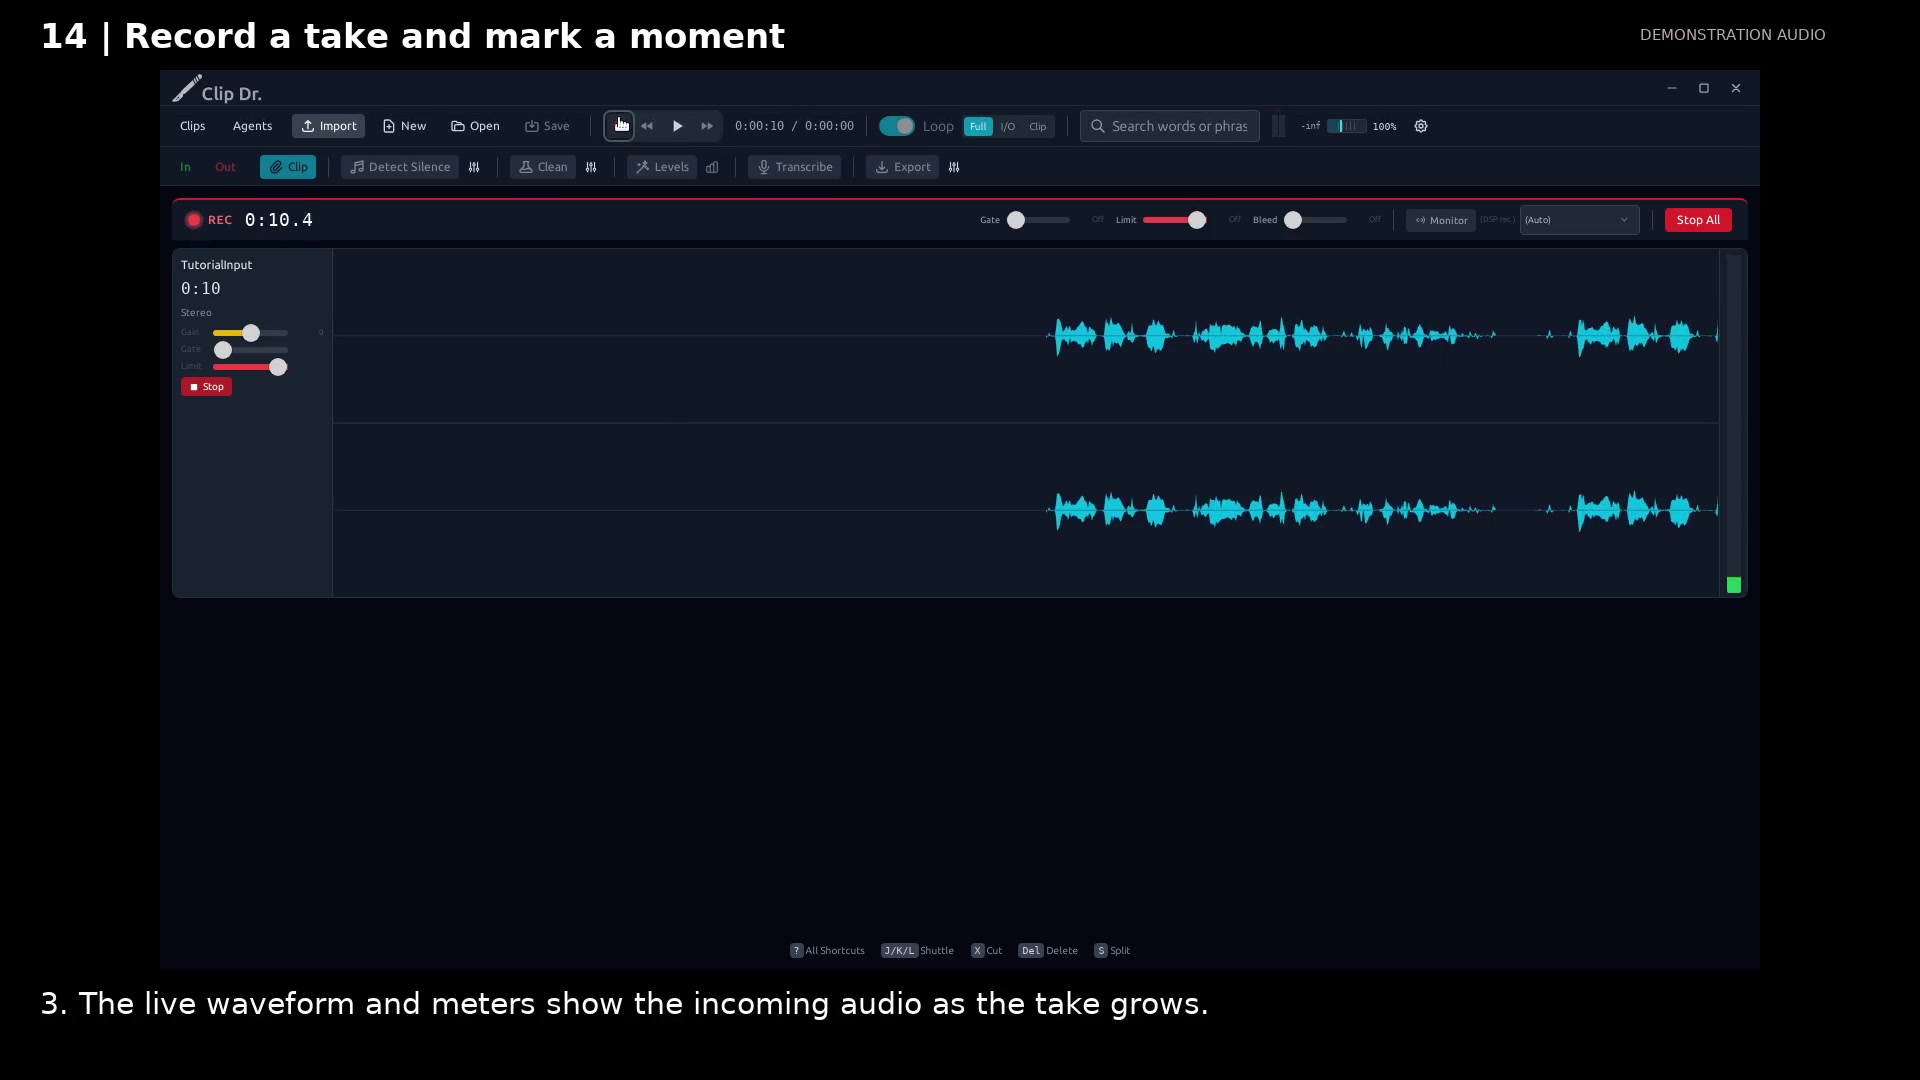
Watch the live waveform during recording. Open full size
- The live waveform shows the incoming audio.
- Watch the input meter.
- Stop All finishes and saves the take.
Read the video instructions
- Choose your microphone or another supported input to record directly into your project.
- 1. Open Record audio. Find your input, check its meter, and choose Rec.
- 2. Add a timemark when something useful happens. The take keeps recording.
- 3. The live waveform and meters show the incoming audio as the take grows.
- 4. Stop All finishes the take and opens the saved recording for editing.
- Record, mark, stop, and edit. The saved take is ready for clips, transcripts, or cleanup.
Audio credits
LibriSpeech excerpts 1688-142285-0007 and 1272-128104-0000, collected by Vassil Panayotov, Guoguo Chen, Daniel Povey, and Sanjeev Khudanpur from LibriVox, are used under CC BY 4.0. Excerpts have been trimmed, resampled, padded, or processed. The voice-replacement example uses an original synthetic voice.