
Desktop · 0:28 video
Find the right setting
Start with the defaults and find optional controls by task.
Before you start: An open Clip Dr. desktop window.
Download videoDownload captions
Step by step
Open Settings
Choose the gear in the main toolbar. General groups project behavior and file locations.
Set up audio
Use Audio for recording and playback preferences that suit your equipment.
Add recognition when needed
Transcription contains recognition models and optional wording review, speaker labels, and voice tools. Ordinary audio editing works without downloading these models.
Adjust the display
Use Appearance for display preferences. Choose Done to return to the project.
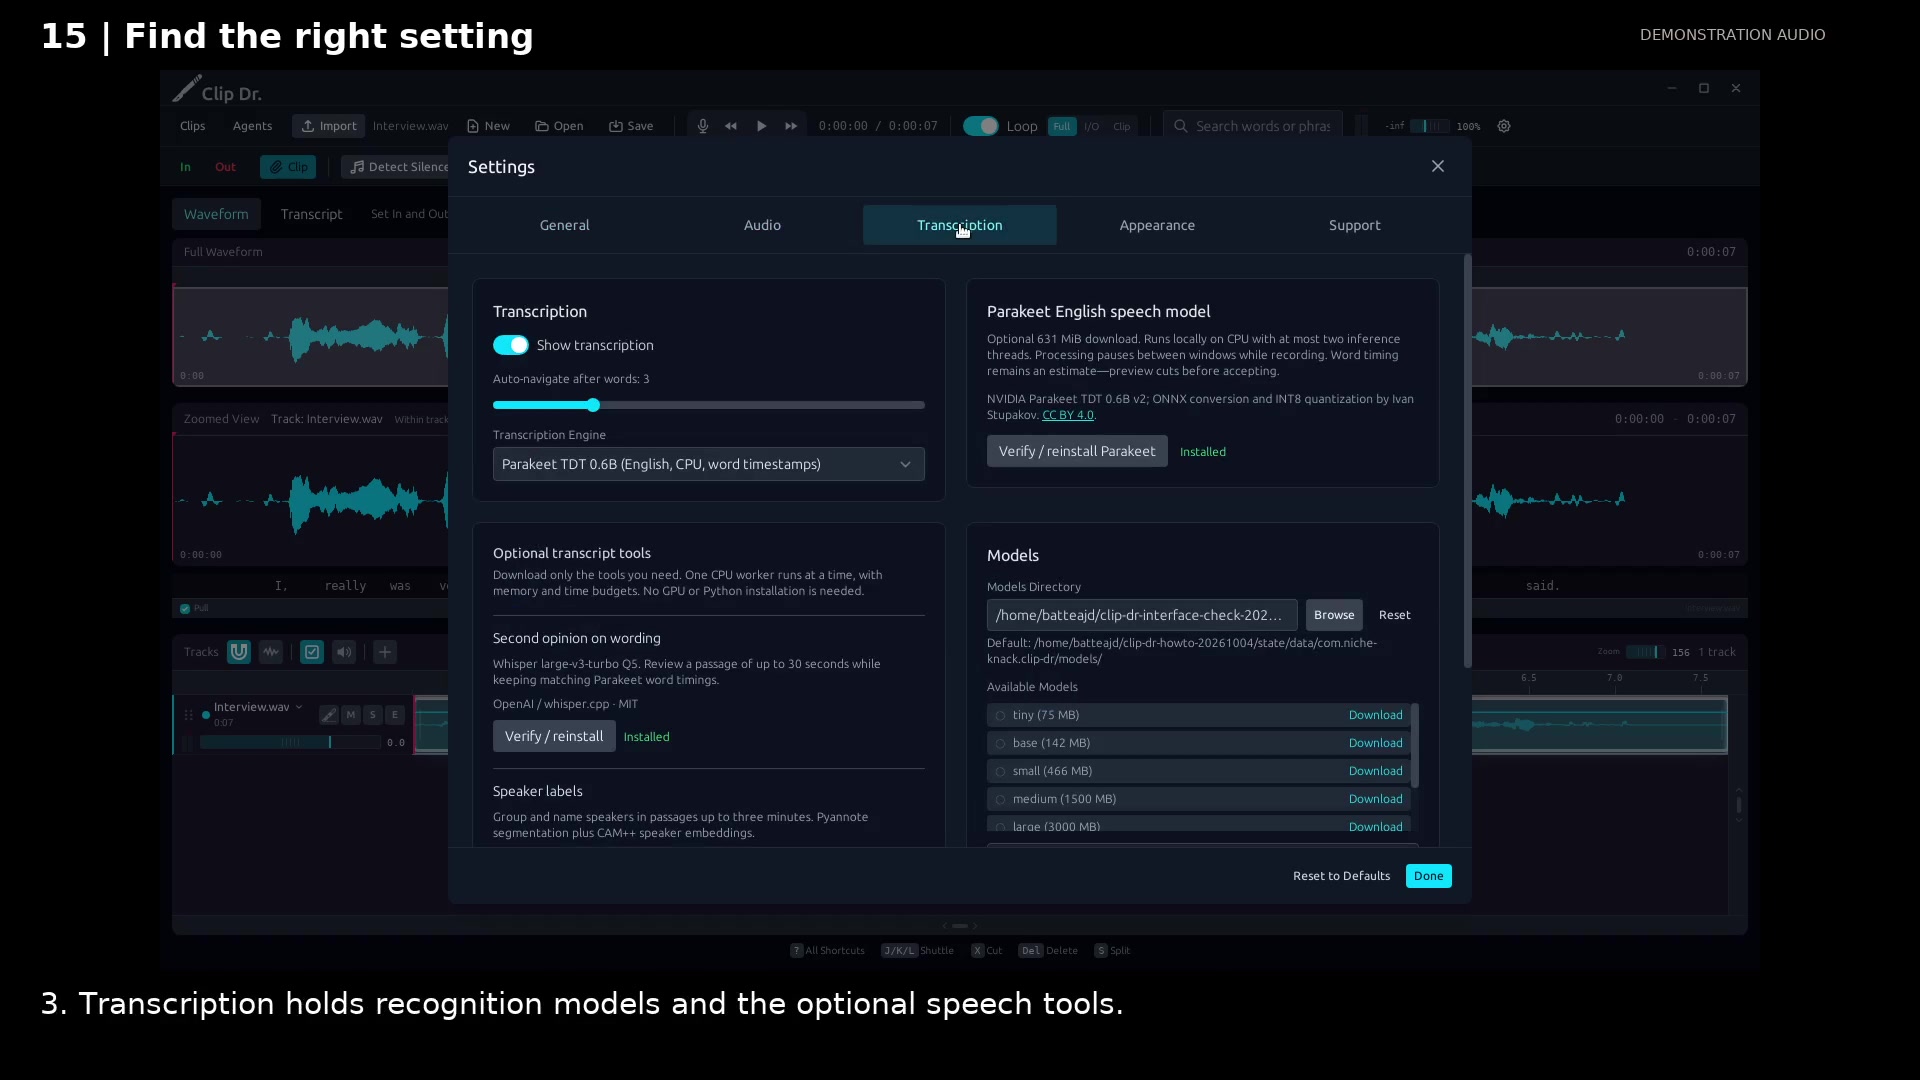
Find local speech models and optional tools. Open full size
- Choose the settings group for your task.
- Select a recognition engine.
- Optional speech tools have their own installation controls.
- Done returns to the editor.
Read the video instructions
- Settings are grouped around the task: general behavior, audio, recognition, and appearance.
- 1. Open Settings. General contains project behavior and file locations.
- 2. Audio groups recording and playback preferences. Check these for your equipment.
- 3. Transcription holds recognition models and the optional speech tools.
- 4. Appearance adjusts the display. Done returns to your project.
- Start with the defaults. Add optional recognition tools only when you need them.
Audio credits
LibriSpeech excerpts 1688-142285-0007 and 1272-128104-0000, collected by Vassil Panayotov, Guoguo Chen, Daniel Povey, and Sanjeev Khudanpur from LibriVox, are used under CC BY 4.0. Excerpts have been trimmed, resampled, padded, or processed. The voice-replacement example uses an original synthetic voice.